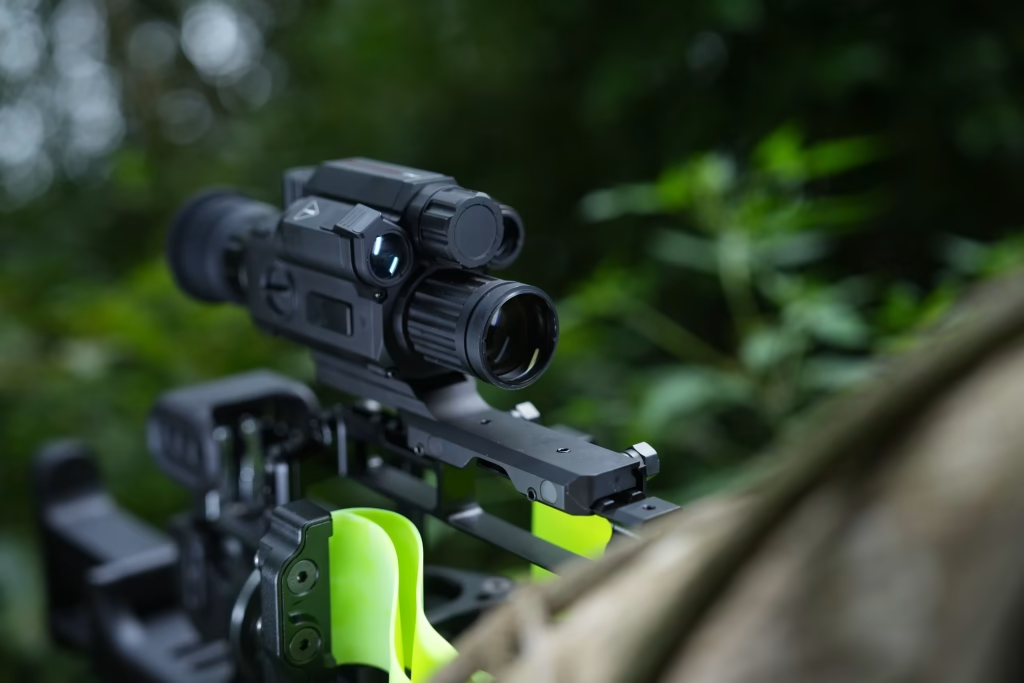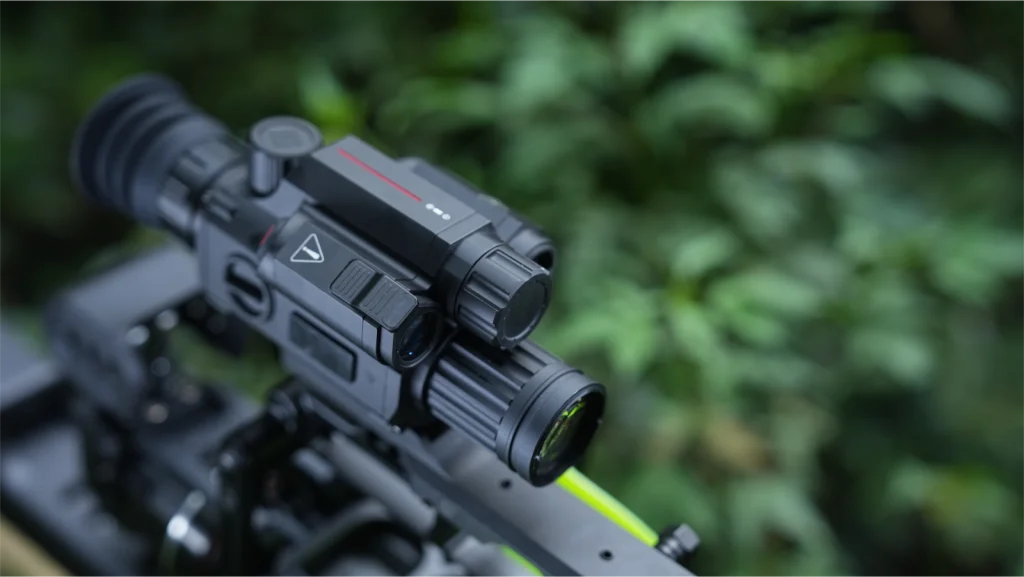
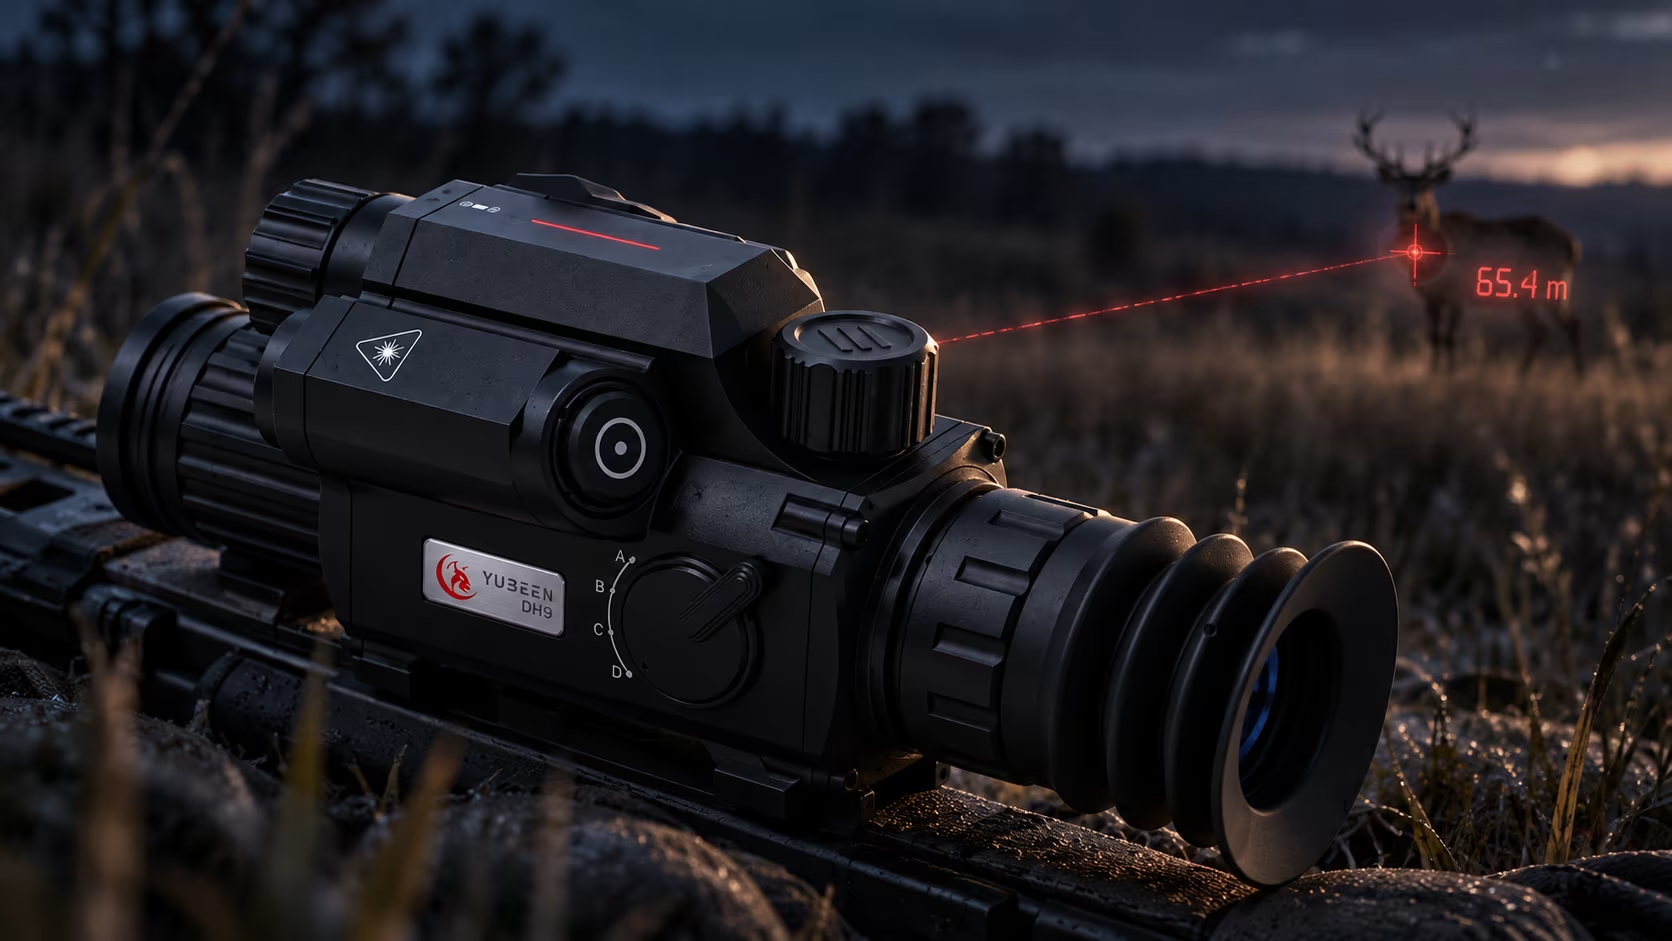
A night vision scope with a built-in laser rangefinder (LRF) combines digital imaging and laser distance measurement in one sighting system, allowing the user to check distance without switching to a separate handheld device.
Using one effectively in low light depends on three things: understanding what the laser is actually measuring, recognizing the conditions that can affect the return, and knowing how to use the measured distance without confusing it with the capabilities of the imaging system.
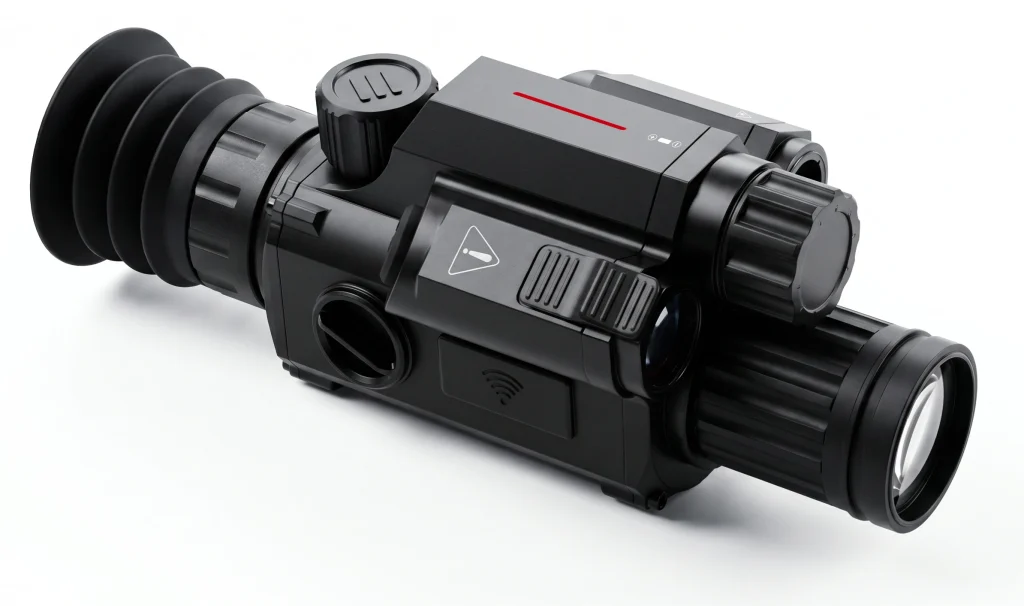
The YUBEEN DH9 is one example. It integrates an 18 mm LRF module — with 18 mm referring to the module size — into its digital day and night vision system, with a stated measurement range of 3–1,000 m and ±1 m accuracy.
What Does a Night Vision Rangefinder Actually Measure?
A laser rangefinder sends out a short laser pulse and calculates distance from the returned signal.
The number shown on the display therefore represents the distance to a surface that returned enough laser energy for a valid measurement. That may be the intended subject, but it can also be a branch, rock, fence, vegetation, or another object positioned in the beam path.
This is an important distinction because the rangefinder and the imaging system perform different jobs.
The image helps you see and identify what is in front of you.
The LRF measures the distance to the surface from which it receives a usable laser return.
For that reason, the DH9’s stated 3–1,000 m ranging specification should not be interpreted as an observation, detection, recognition, or identification distance for the night vision image. Those are separate performance considerations.
How to Use the Built-In LRF on the DH9
The DH9 has a dedicated ranging button. A short press triggers a distance measurement, and the measured value appears directly on the sighting display.
The position of the ranging indicator on the screen can also be calibrated, helping the user align the ranging reference with the intended area of the image.
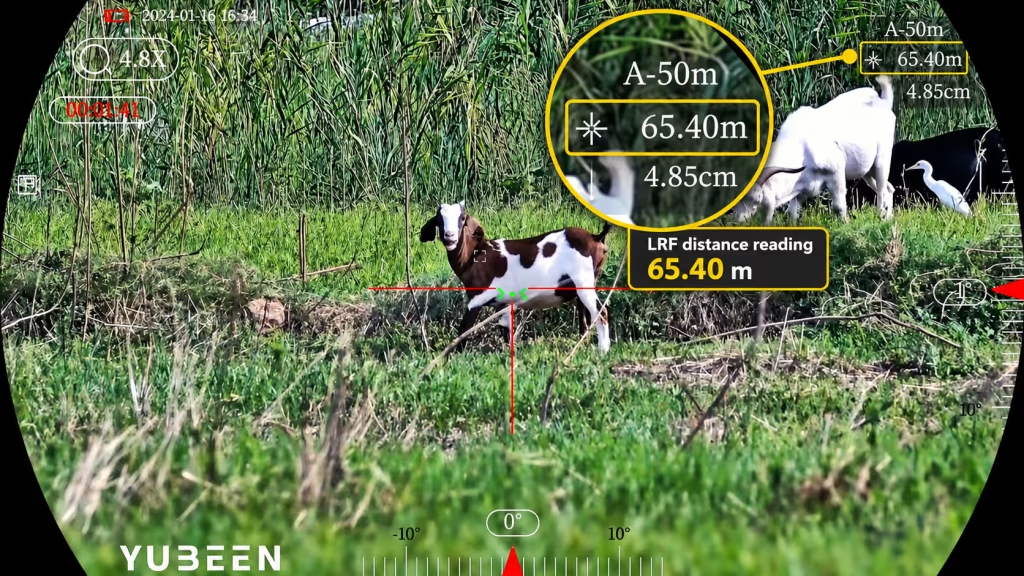
Choose the Appropriate Ranging Mode
The DH9 provides several ranging options:
- Single ranging
- Continuous ranging
- 2-second continuous ranging
- 5-second continuous ranging
- 8-second continuous ranging
Single ranging is suitable when one confirmed distance is sufficient.
Continuous or timed ranging can be useful when the observation point, target position, or scene is changing and updated distance information is needed.
Check the Reading Against the Scene
A distance value should not be accepted automatically just because a number appears on the display.
After taking a measurement:
- Check that the ranging indicator is positioned on the intended surface.
- Compare the measured value with the visual context of the scene.
- If the result appears inconsistent, re-aim and take another measurement.
- Treat the reading as reliable once it is consistent with the scene and repeatable when needed.
This simple cross-check helps reduce the chance of relying on a return from an unintended foreground object.
How Low Light Affects Laser Ranging
Laser ranging does not rely on ambient illumination in the same way that the imaging channel does. The rangefinder emits its own laser pulse and measures the returned signal.
Low light therefore does not automatically prevent the laser from measuring distance.
What changes is the user’s ability to understand the scene around the measurement.
In daylight, branches, vegetation, fence wires, and other possible obstructions are generally easier to identify. After dark, limited image detail can make it more difficult to determine exactly which surface the rangefinder is measuring.
This makes scene confirmation especially important.
Target Surface Matters
Different surfaces return different amounts of laser energy.
A large, flat surface with favorable reflectivity may provide a more stable reading than a small, irregular, angled, or low-reflectivity surface at the same distance.
The range alone therefore does not determine whether a measurement will be easy to obtain.
Beam Angle Matters
When the laser reaches a surface at a shallow angle, less useful energy may return toward the rangefinder.
Where practical, aim at a larger and flatter part of the intended subject or surrounding surface with a more direct angle to the rangefinder.
Obstructions Matter
Vegetation, branches, fencing, or other objects between the rangefinder and the intended subject may produce an earlier or stronger return.
Before relying on the number, use the image to check whether the measurement path is clear.
What Is the Role of IR Illumination?
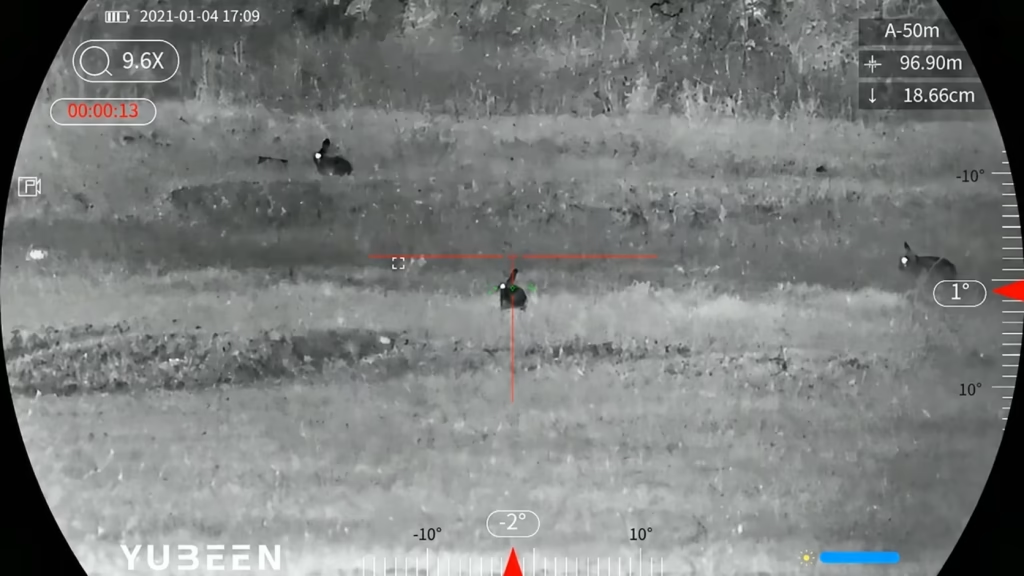
The DH9’s night vision imaging system, IR illuminator, and laser rangefinder are separate functions.
The integrated 3 W IR illuminator is used to improve image visibility when ambient light is insufficient. Its output level can be adjusted, the system can remember the previous IR level, and the push-pull focusing structure allows the illumination beam to be adjusted.
However, IR illumination is not a requirement for the LRF itself to operate.
The IR illuminator helps the user see the scene more clearly, but it does not increase the LRF’s ranging performance.
Why Can an LRF Reading Be Unstable or Missing?
Laser rangefinders depend on receiving a usable return signal.
Surface characteristics, angle, weather, obstructions, and distance can all influence how stable or repeatable a reading is.
| Condition | Possible Effect | Practical Response |
|---|---|---|
| Very low ambient light | The LRF can still operate, but scene context may be harder to confirm | Use the night vision image and IR illumination when needed to identify the intended surface |
| Rain, fog, or heavy moisture | The return may become weaker or less stable | Repeat the measurement and treat marginal readings cautiously |
| Low-reflectivity surface | Less laser energy may return to the rangefinder | Re-aim at a larger, flatter, or more favorable surface if available |
| Shallow angle to the surface | Less useful energy may return | Aim at a flatter area with a more direct angle where practical |
| Below the stated 3 m minimum | Outside the stated ranging specification | Use another distance reference for very close observations |
| Beyond the stated 1,000 m maximum | Outside the stated ranging specification | Use the LRF within its intended working range |
These are general factors that can affect laser ranging.
If a reading remains unavailable or inconsistent after re-aiming and repeating the measurement under suitable conditions, refer to the current product documentation or support guidance.
A Practical Low-Light Ranging Workflow
A consistent process is more useful than repeatedly pressing the range button and accepting the first number that appears.
Step 1 — Confirm the Scene
Use the night vision image to identify the intended subject and check for branches, vegetation, fencing, or other objects in front of it.
Step 2 — Position the Ranging Indicator
Place the ranging reference on the surface you actually want to measure.
If the on-screen ranging indicator requires adjustment, use the available calibration function before relying on repeated measurements.
Step 3 — Take the Measurement
Trigger the LRF using the dedicated range button.
Use single, continuous, or timed ranging according to the situation.
Step 4 — Cross-Check the Result
Compare the measured distance with the visual context.
If the value appears inconsistent, reposition the ranging point and repeat the measurement.
Step 5 — Use the Confirmed Distance
Once the reading is reliable, the measured range can be used as a distance reference or as an input to the scope’s ballistic functions when needed.
If the distance needs to be retained for later reference, record it separately with the observation.
Using the Measured Range with Ballistic Functions
The LRF and ballistic system should not be treated as the same function.
The LRF provides a measured distance.
With a valid zero and the relevant ballistic parameters configured, the measured distance can be used by the ballistic system to calculate an aiming correction reference.
The rangefinder itself does not establish the zero, determine every ballistic parameter, or guarantee the result.
Zeroing should be completed first. Ballistic fitting and further ballistic verification come afterward.
The full zeroing process, including Freeze adjustment, X/Y correction, measured-drop calibration, and Ballistic Fitting, is better treated separately rather than repeated in this guide.
This distinction keeps the workflow clear:
Measure the distance first → confirm the range → apply the distance within the ballistic workflow when needed.
Night Vision Rangefinder FAQ
Can the DH9 LRF work in complete darkness?
Laser ranging itself does not depend on ambient illumination in the same way as the imaging channel.
However, the user still needs enough image information to identify the intended measuring surface. When ambient light is insufficient, the integrated IR illuminator can be used to improve the night vision image and provide better scene context.
Does the 3–1,000 m LRF range mean the DH9 can see a target at 1,000 m?
No.
The 3–1,000 m specification describes the stated operating range of the laser rangefinder.
Observation, detection, recognition, and identification distances belong to the imaging system and depend on different factors, including the target, environment, optical configuration, illumination, and image conditions.
The two specifications should not be treated as interchangeable.
Does using the LRF change the zero?
No.
The rangefinder is a distance-measurement function. Taking a range measurement does not move or change the established zero.
The measured distance can later be used by ballistic functions, but ranging and zeroing remain separate stages of the system.
Why might the LRF fail to return a reading from a low-reflectivity surface?
A low-reflectivity surface may return less of the laser pulse’s energy to the rangefinder.
If the subject is within the stated ranging range, try repositioning the ranging point onto a larger, flatter, or more favorable surface and repeat the measurement.
Target angle, weather, and foreground obstructions should also be checked before assuming the problem comes from the surface alone.
Does frequent LRF use affect battery runtime?
Using any electronic function consumes power, including the laser rangefinder.
The DH9’s published operating time is up to 8 hours, but no separate runtime figure is specified for frequent or continuous ranging.
Actual runtime can vary with the combination of active functions and operating conditions.
Measure the Distance, Then Use It Correctly
A built-in night vision rangefinder gives the user a direct way to confirm distance without moving away from the digital sighting system.
Its usefulness depends not only on maximum ranging distance, but also on how well the user understands the measurement.
Check the beam path. Aim at the intended surface. Repeat unusual readings. Keep the LRF specification separate from the imaging system’s observation capability.
On the DH9, the built-in LRF can provide a confirmed distance for the next stage of the workflow, including use as an input to the ballistic functions when appropriate.
For current DH9 specifications and product information, visit the YUBEEN DH9 product page.
For additional setup and product assistance, visit the YUBEEN Support Center.